VIVE Menu
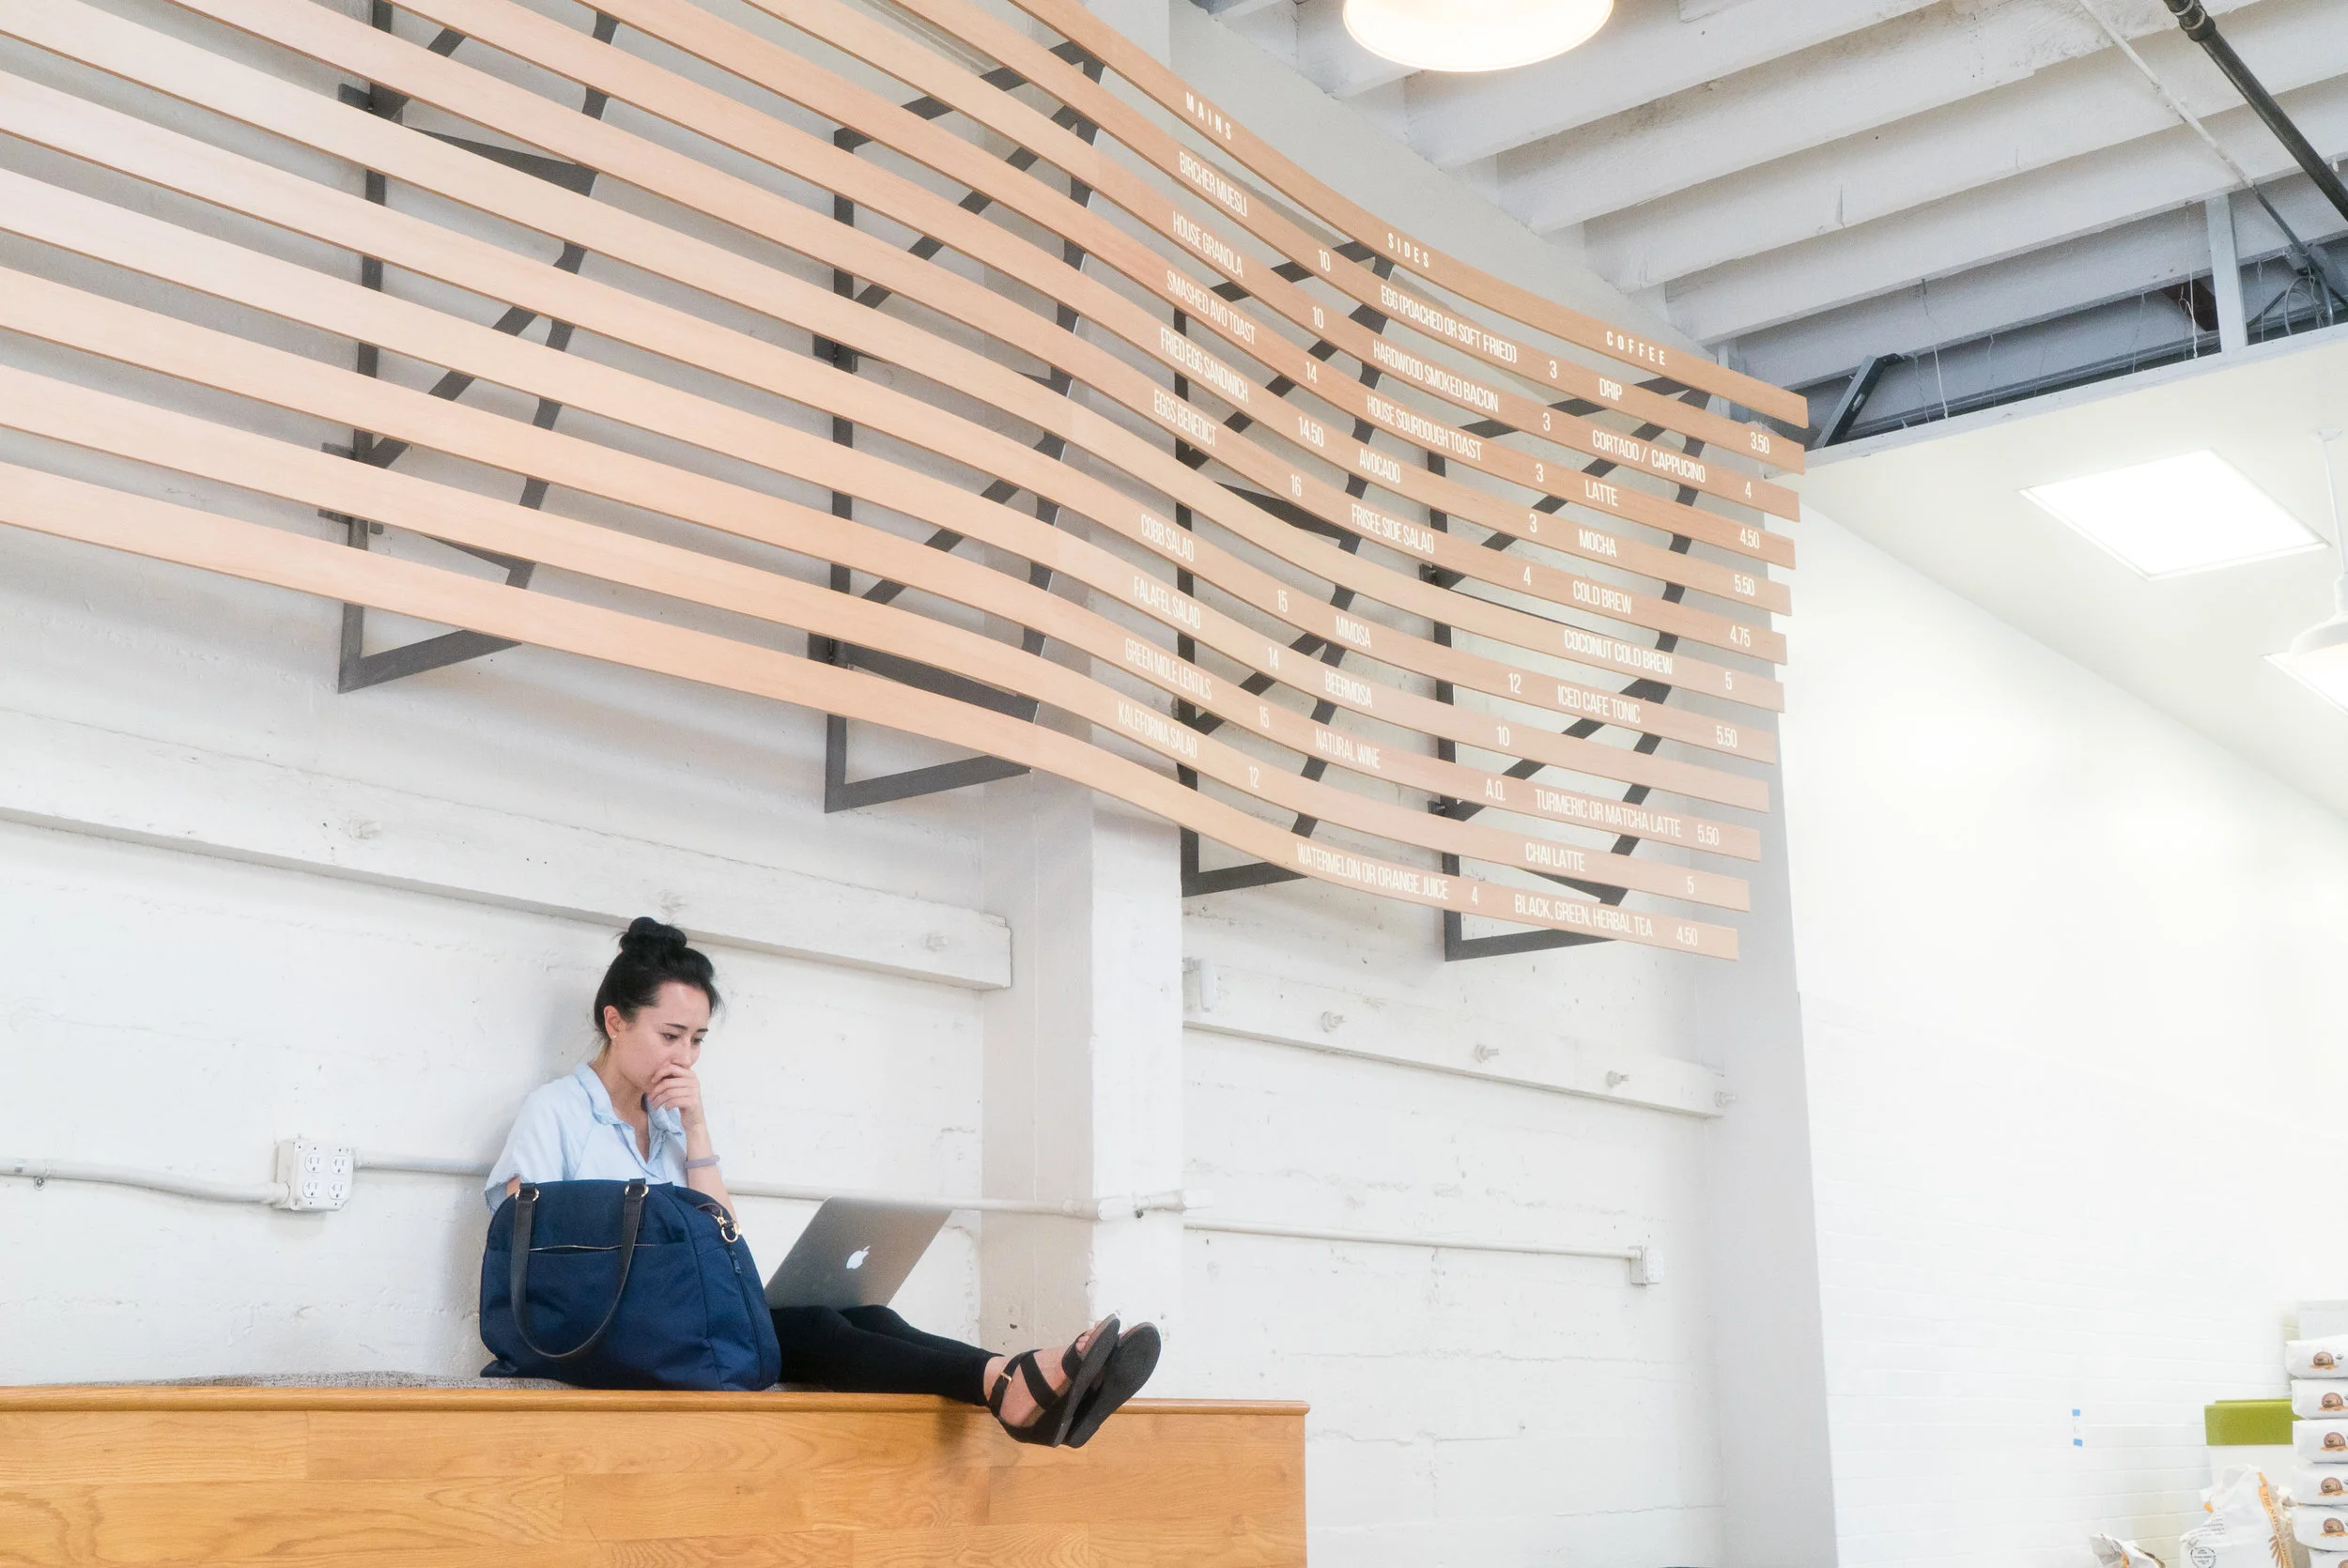
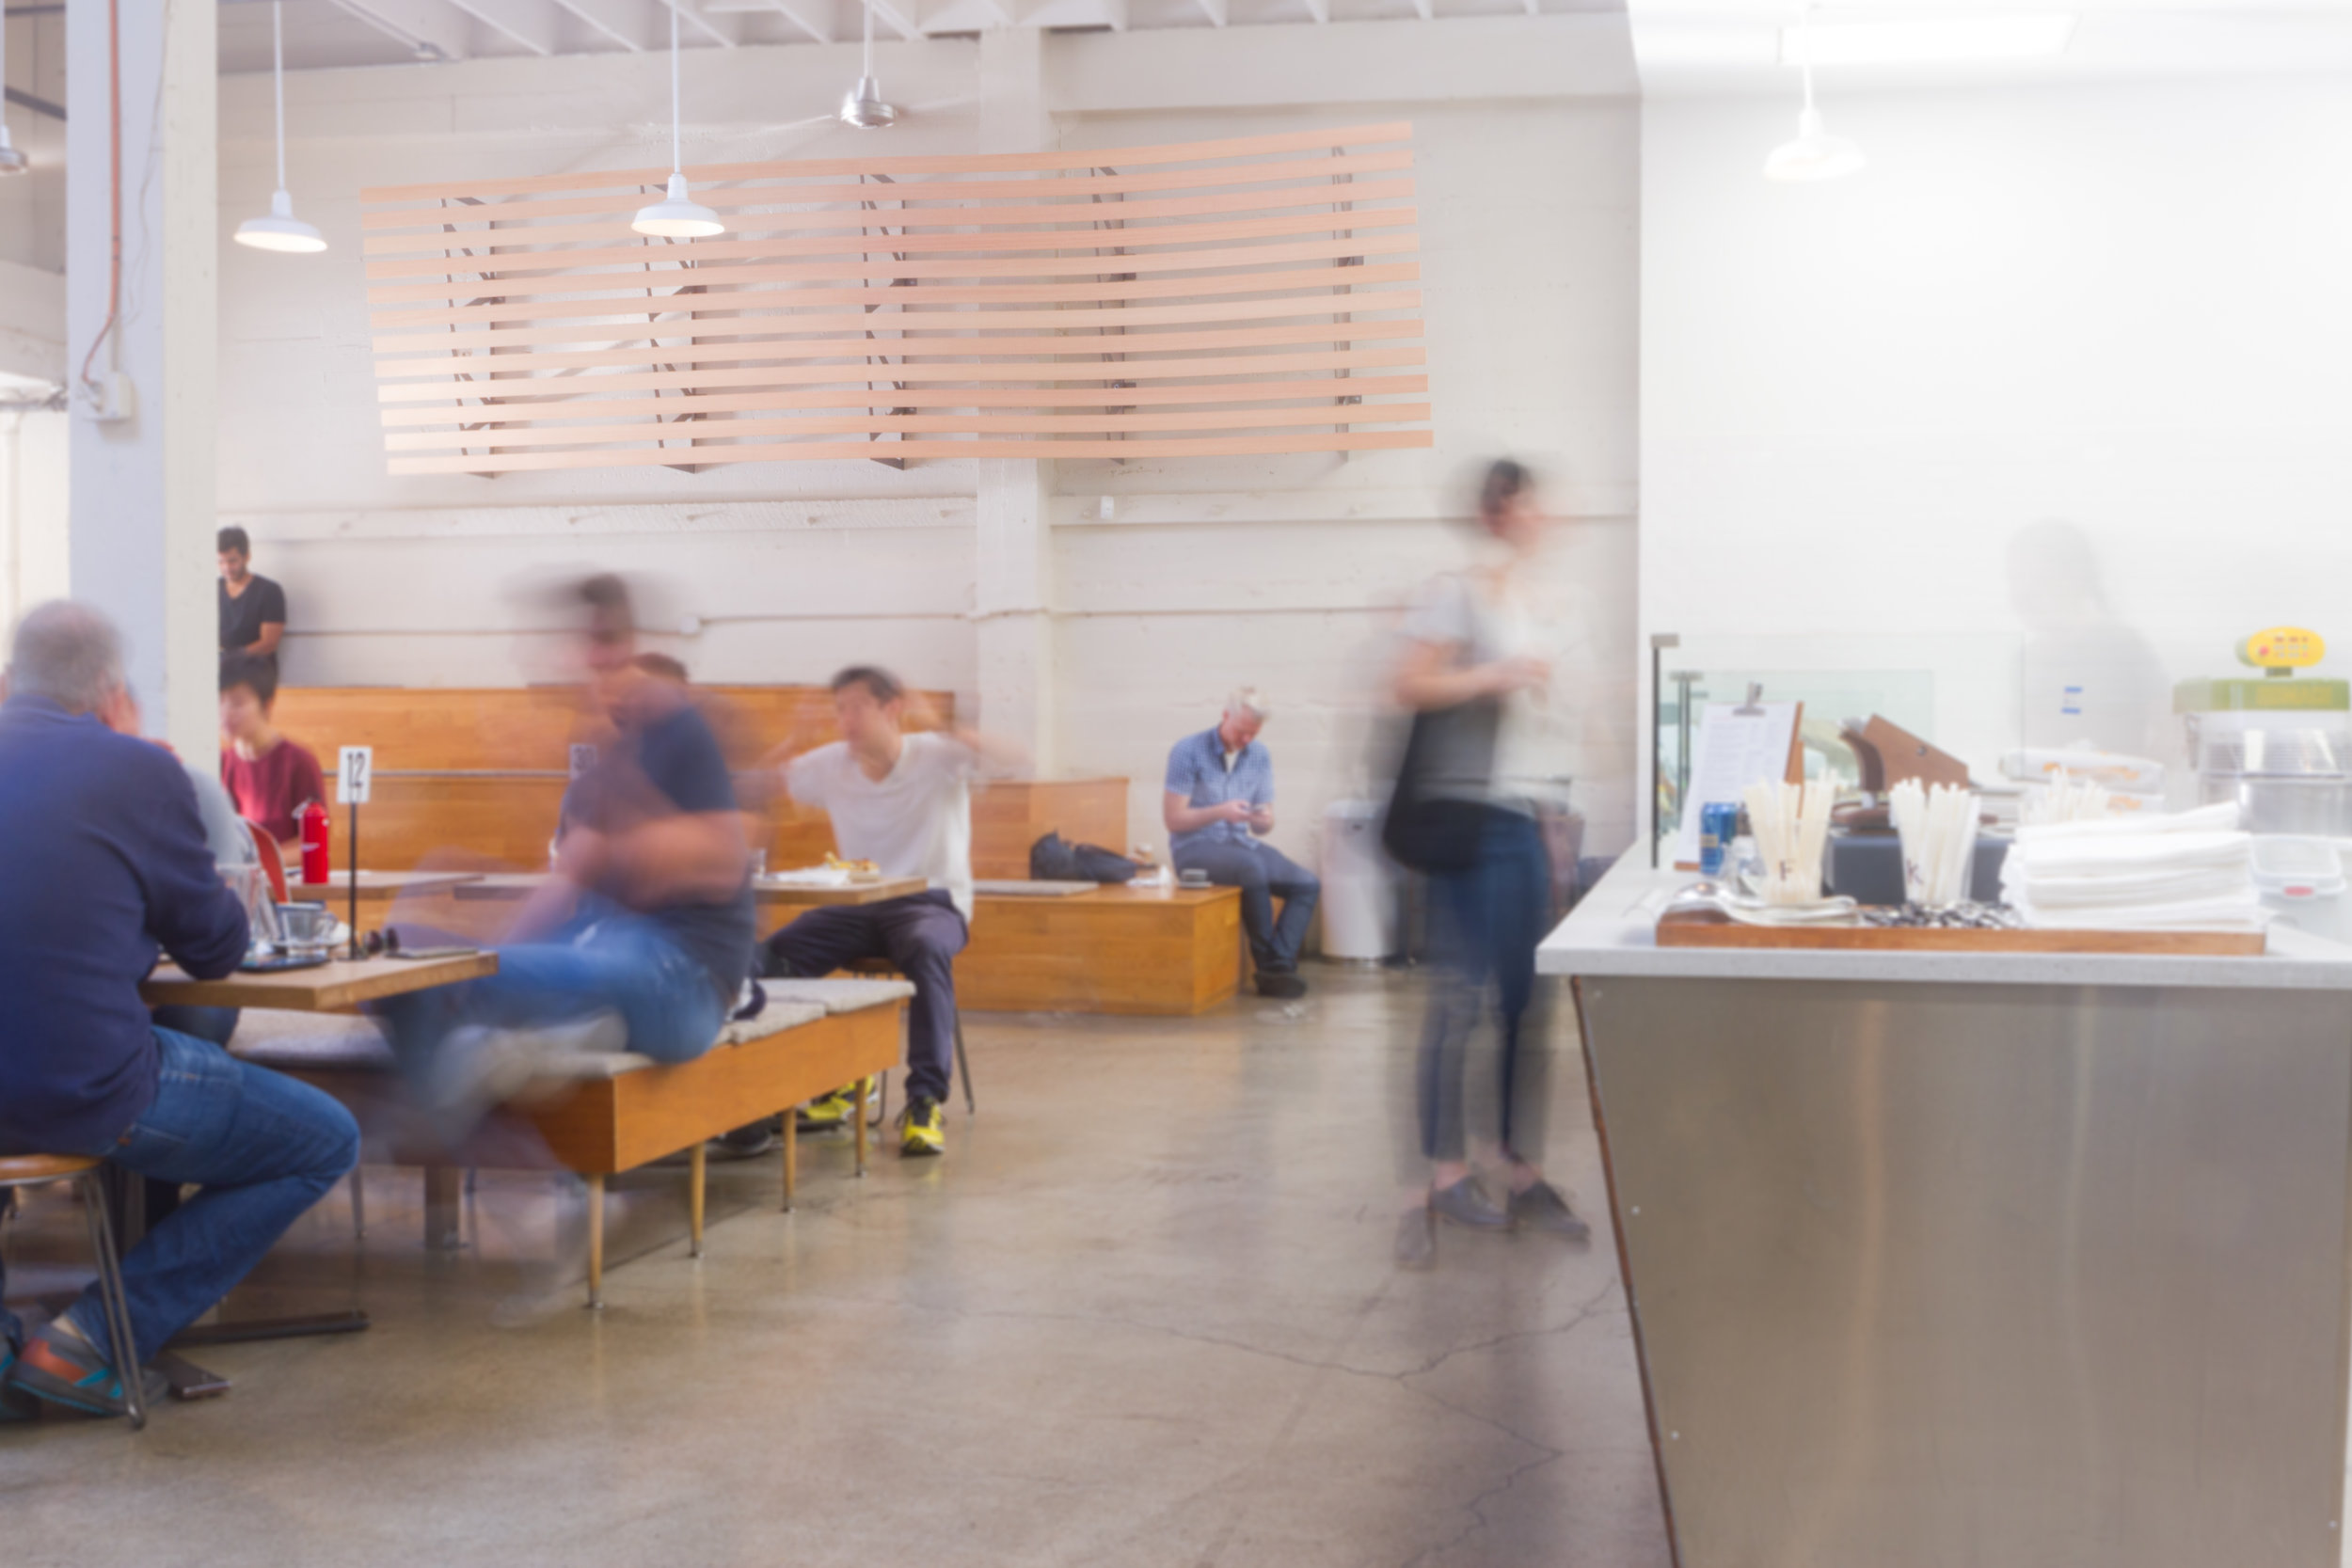
Digital display menus are wonderful in their versatility, but there no good way to make a flat screen TV look at home in a restaurant. Analog menus have the opposite problem, while they look great and fit in seamlessly, they’re usually a big pain to change. The brilliance of the new Vive menu is that it combines the benefits of both.
Lightform, an SF startup pushing the boundaries of projection technology, and Vive la tart, the best bakery in town, came up with the idea of building a menu framework and then projecting all of the information on top of it.
We got the call to help figure out how to build this thing. These are our favorite kind of calls.
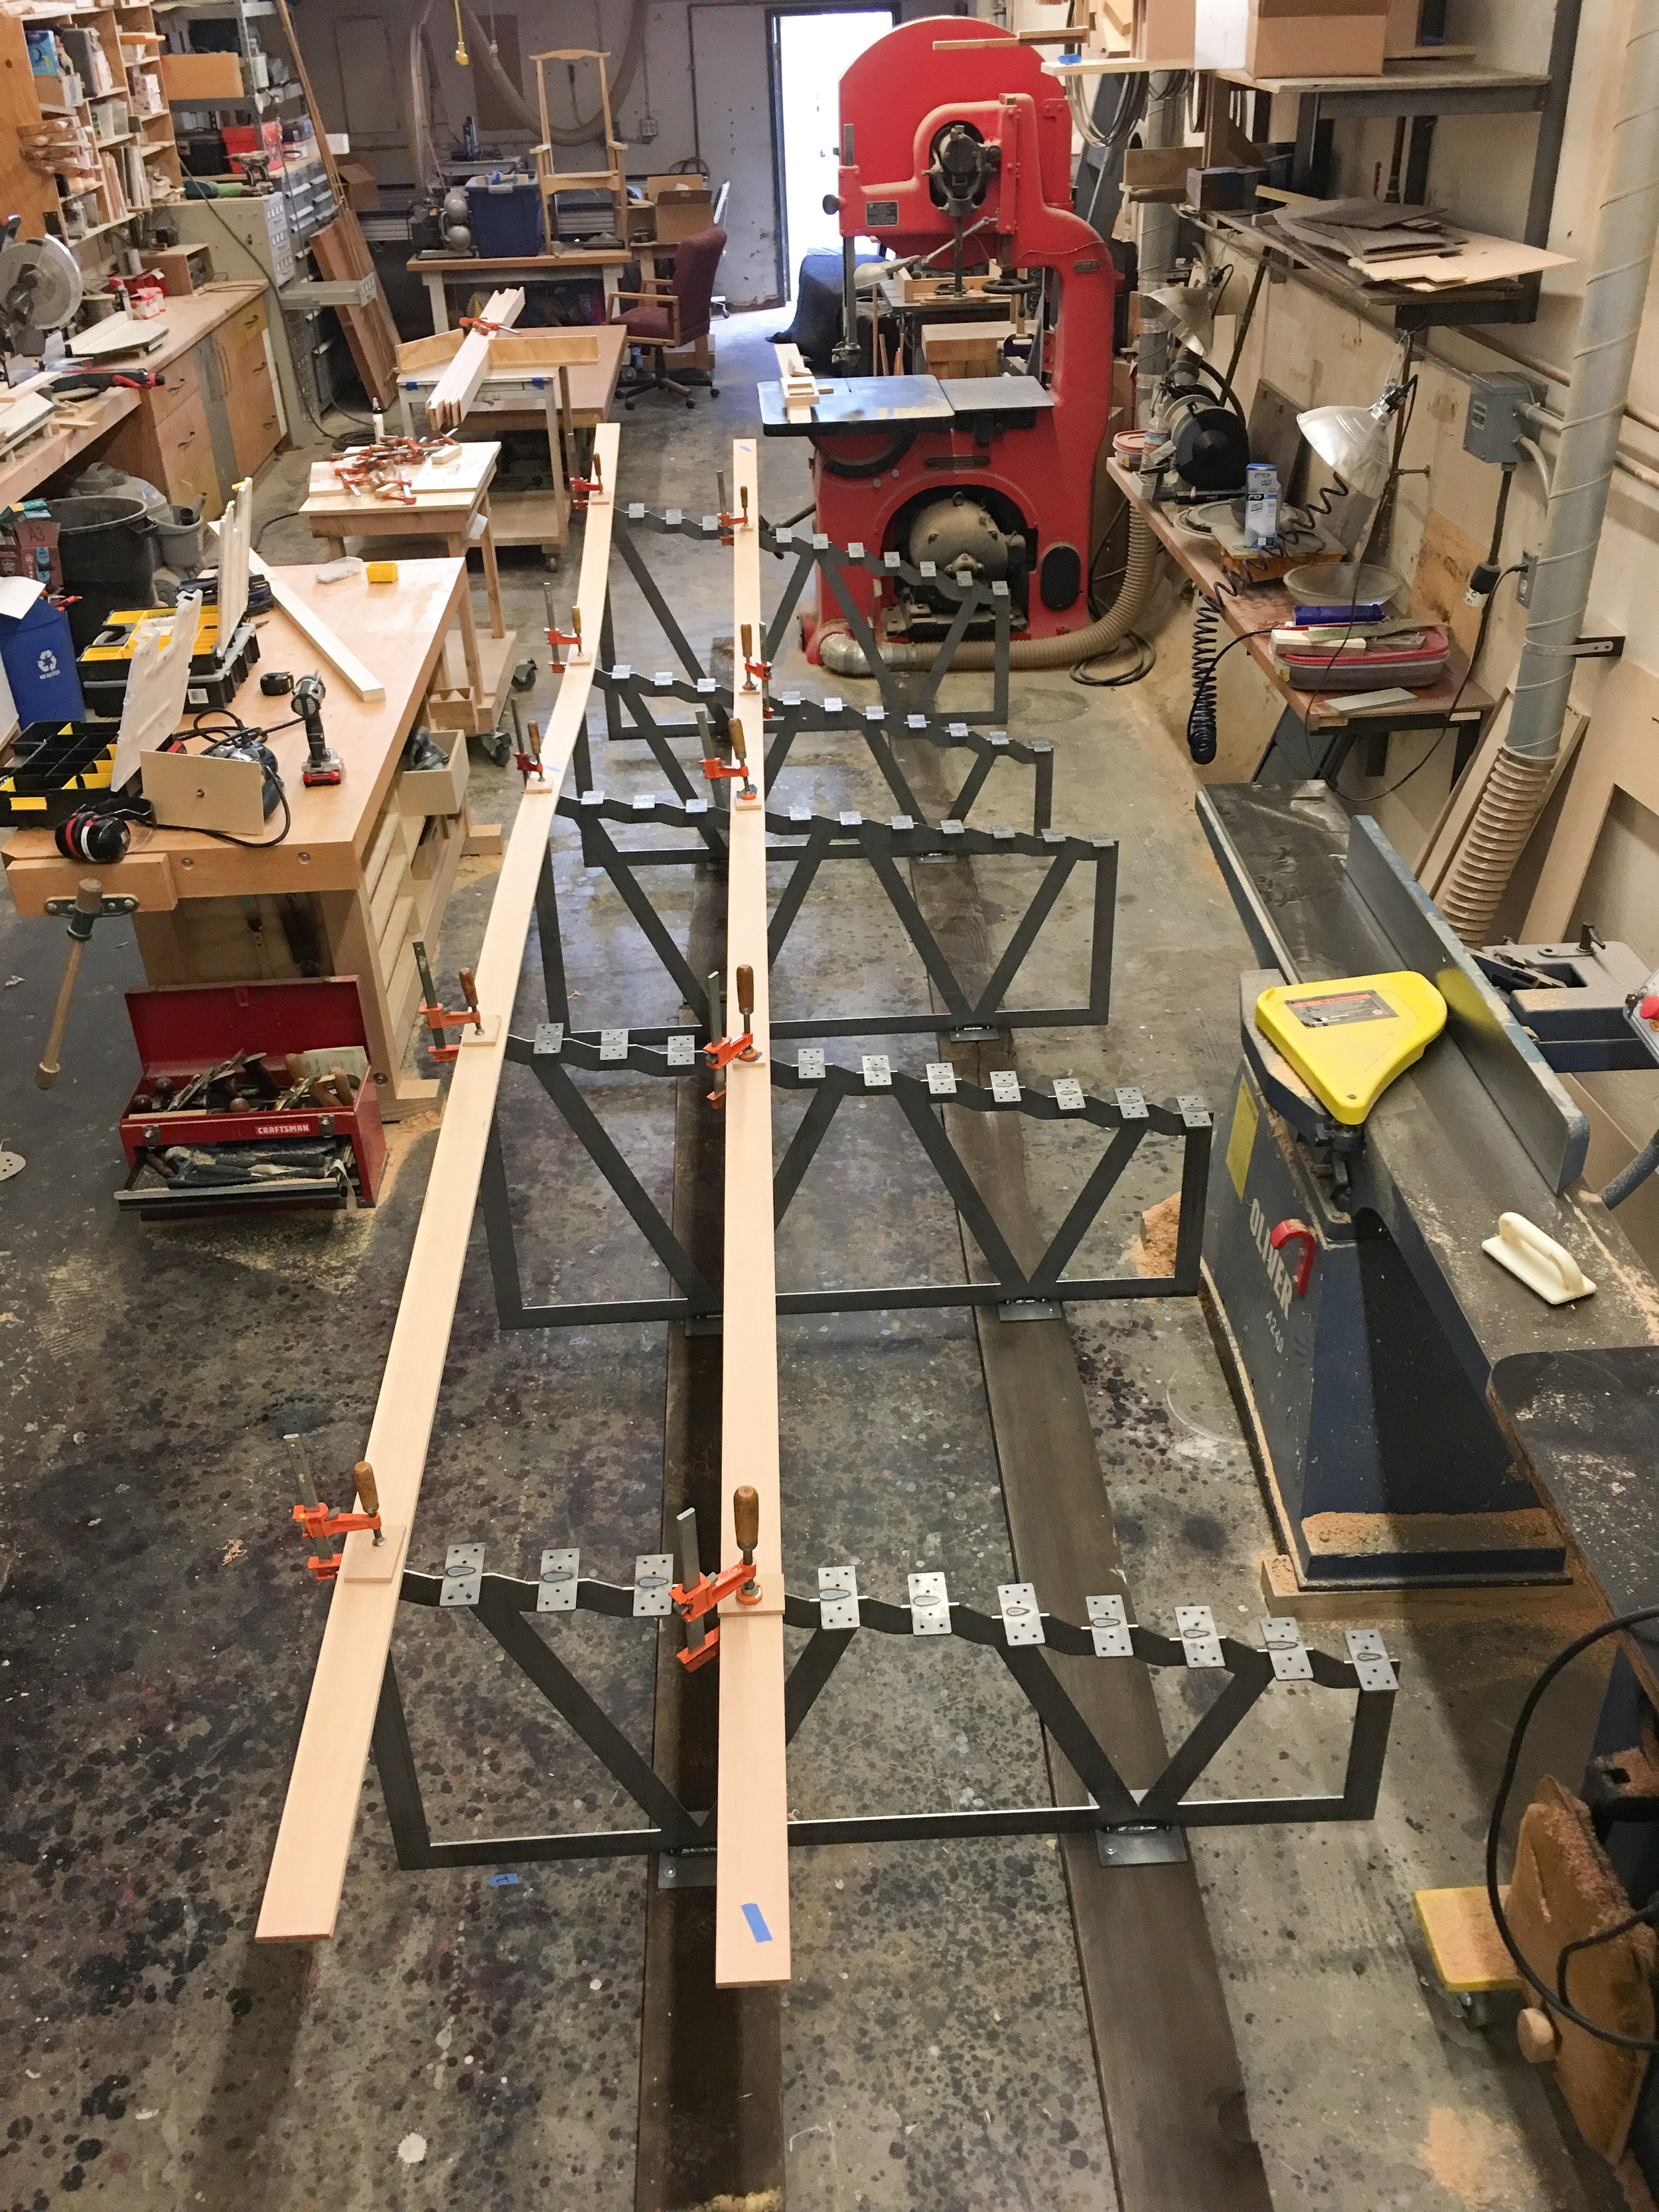
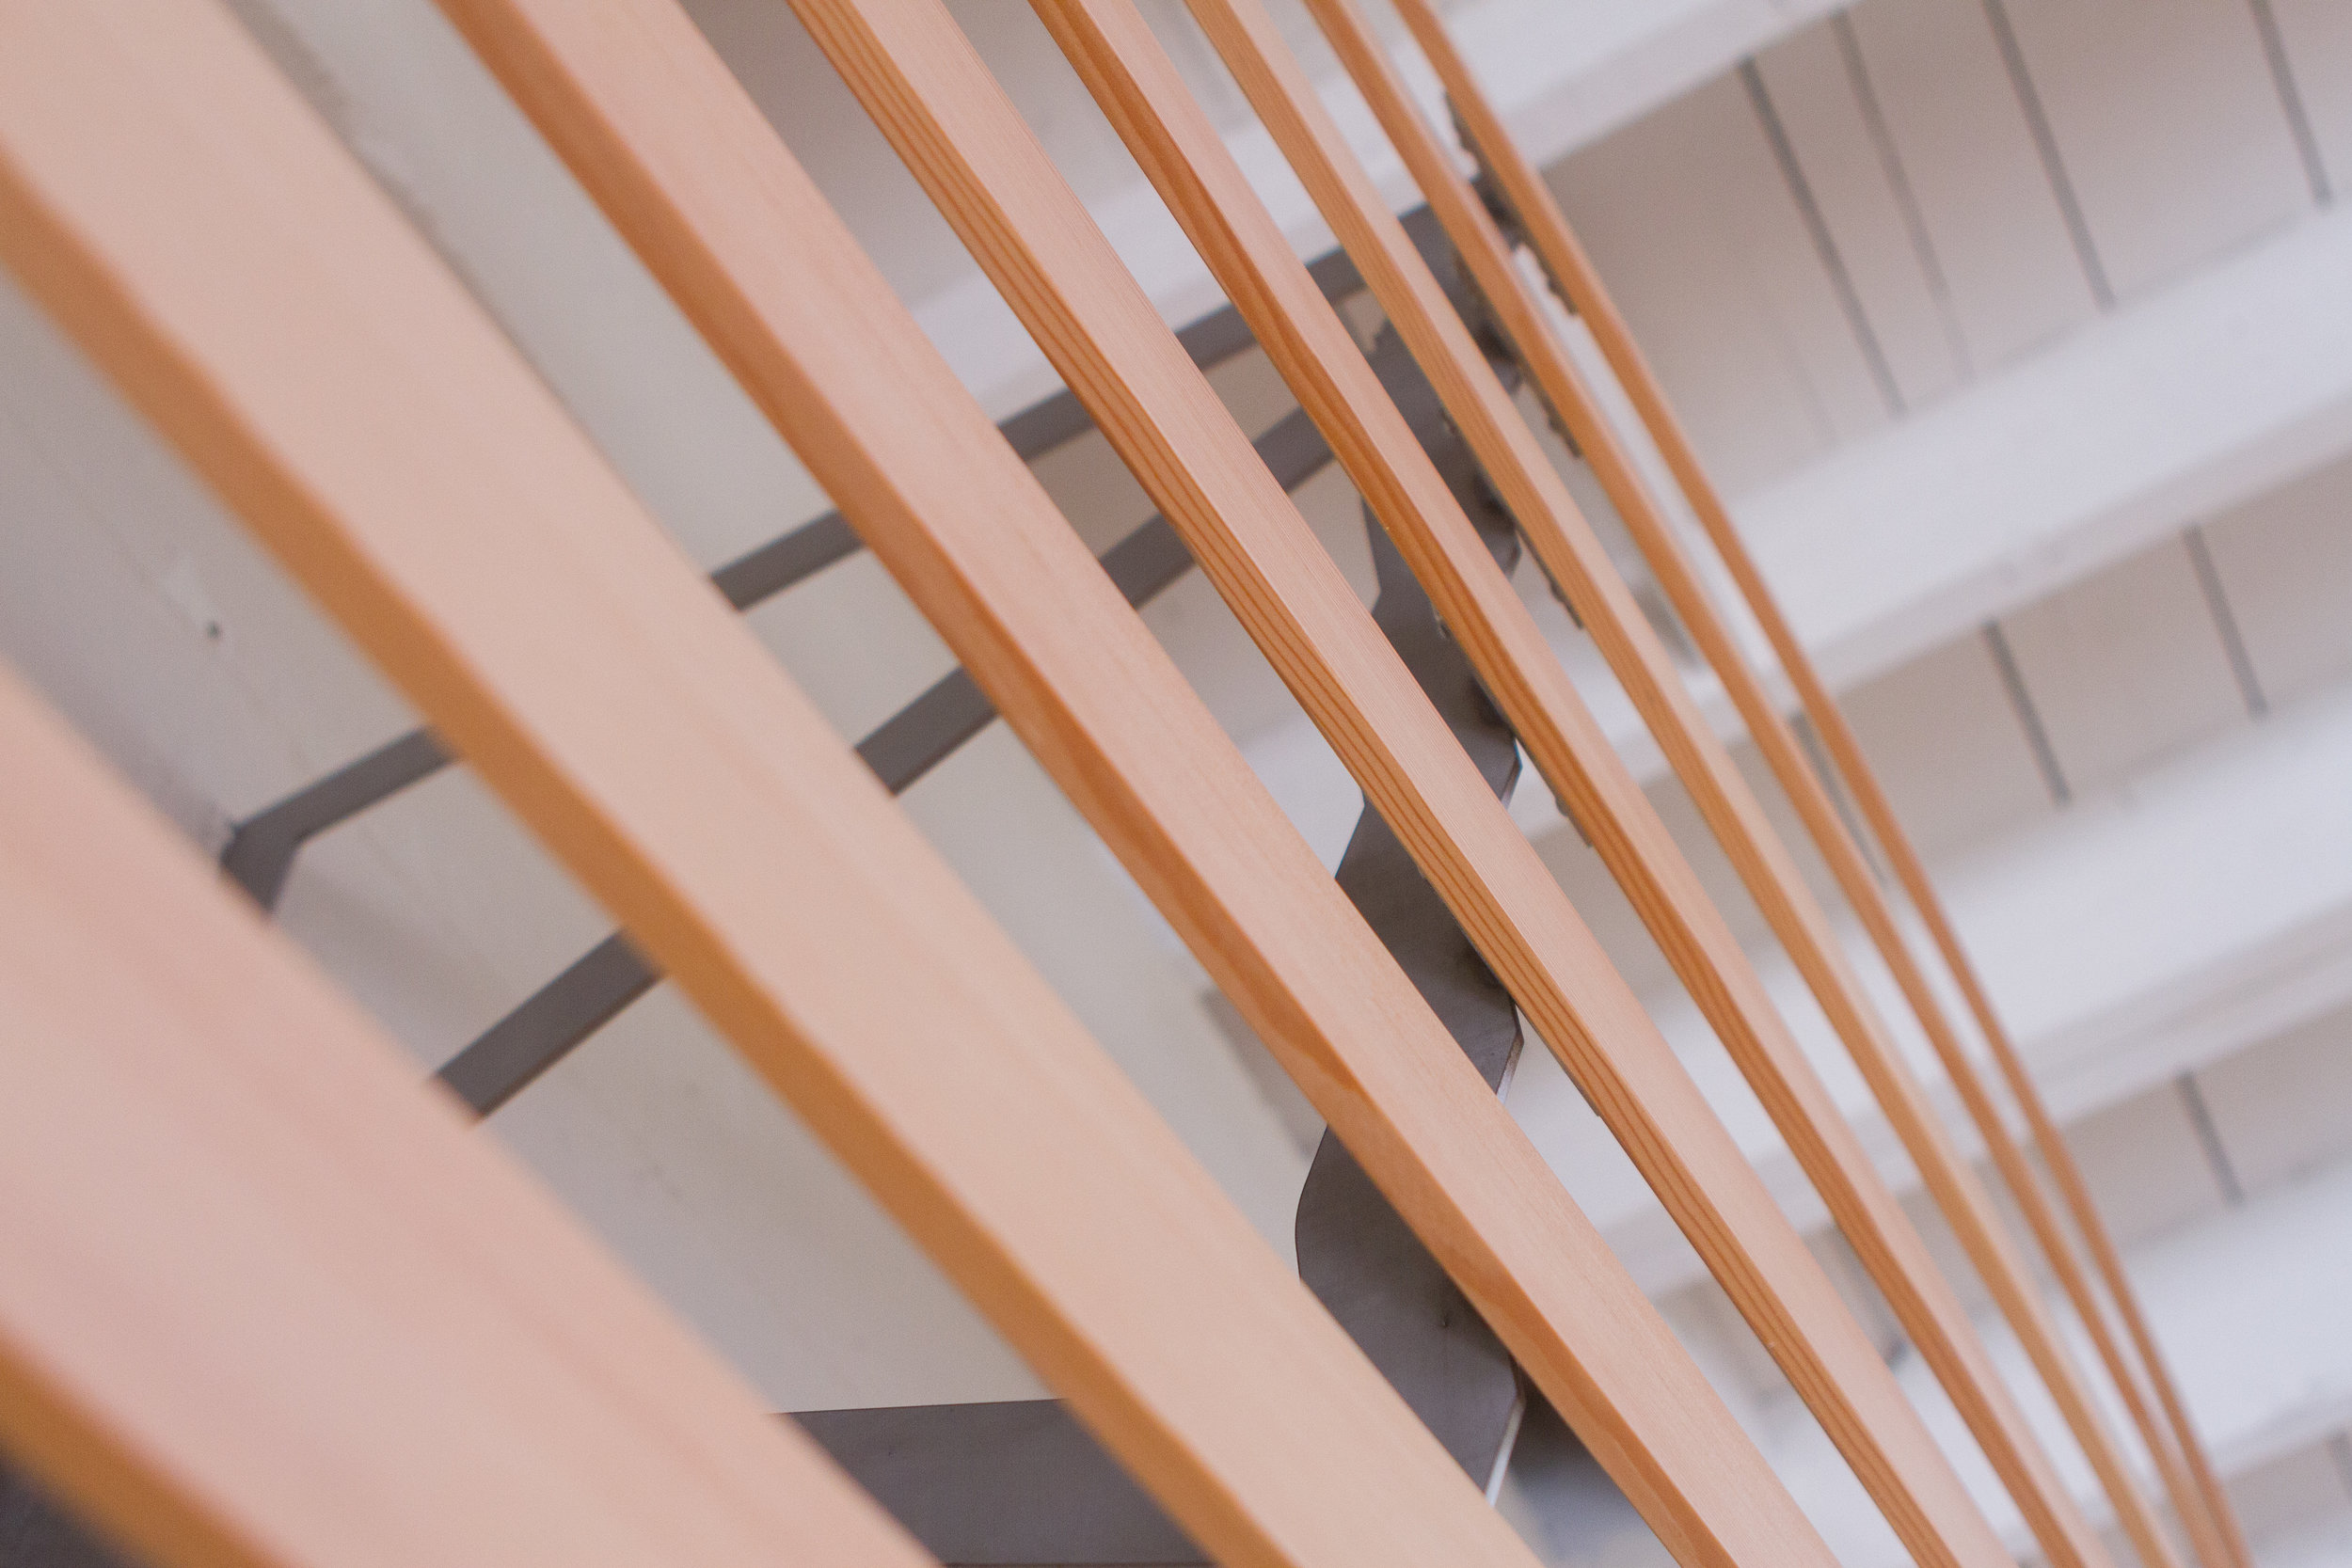
The folks at Lightform had already created a 3D model of the menu in the space (did I mention these were dream clients) so our first step was to work through potential fabrication strategies. Ultimately we settled on what we thought would be the most effective and successful: building a framework of steel ribs and then bending long, thin fir slats across them.
Although the concept was straight forward, there was a decent amount of testing to be done to ensure feasibility. Take a peak at the Behind the Scenes Vive post to see that process.
The initial testing went swimmingly, so it was off to the races. Thanks to Vive’s contractors and the Lightform projection crew, the menu is up and fully functional.
It’s a project you need to see in person, so do yourself a favor: go to Vive, order a croissant, and then enjoy the menu show.
Project specs
Scope of work: design development, fabrication
Materials: mild steel, fir
Dimensions: 240" L, 72" H, 36" D
Completion date: 10/2017


Process
By the time I got the call, the Vive menu project was well underway. Phil, Design Director at Lightform, and Arnaud, Owner of Vive la tarte, already had an idea of what they wanted the menu to look like, how they wanted it to work, and an appreciation for what it takes to build things.
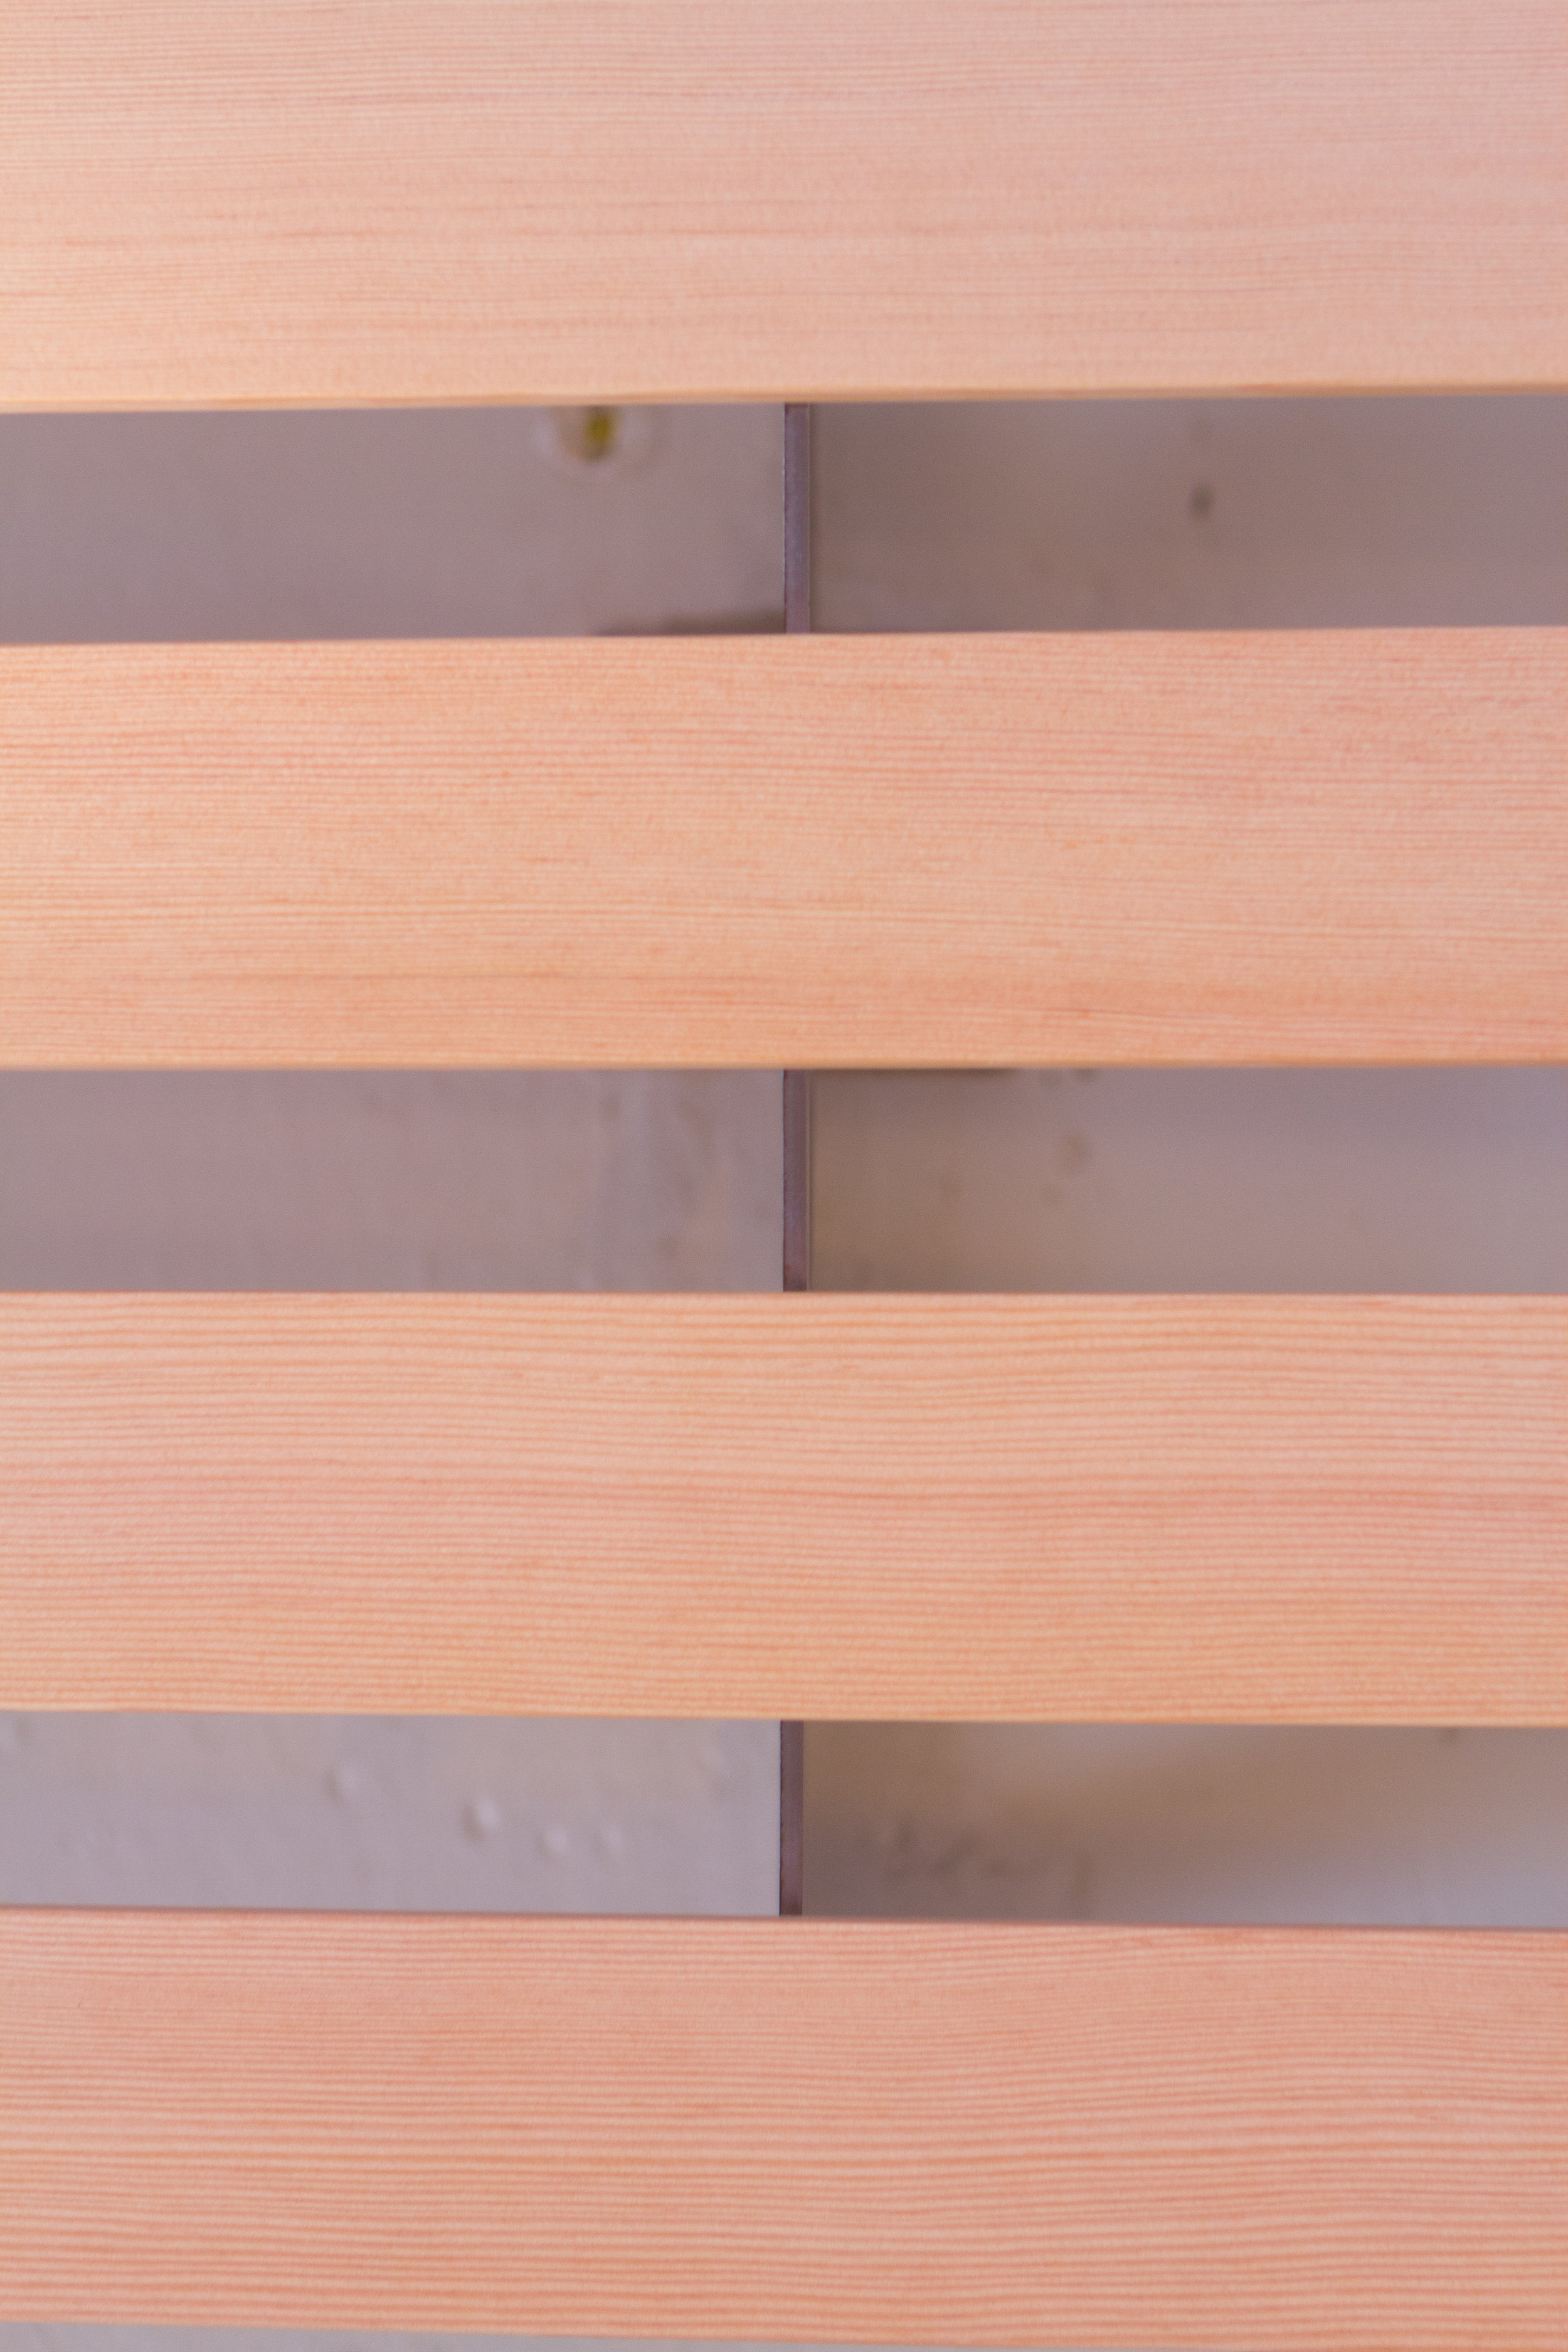
Since the conceptual design work was already done, our first objective l was to figure out the best way to build this thing given the constraints of this project. Ultimately, we settled on using steel ribs as a framework, and bending thin VG Fir strips over the ribs.
Theoretically, the process was straightforward, but there were enough variables and material challenges that we opted to dive in with a 1:4 scale model and some full-scale tests. The prototyping focused on:
Identifying the ideal thickness of the wood slats
Ensuring the wood could handle the most intense bends
Strength testing various joinery options (since the wood slats were too long to be made from just one piece)
Testing how much the steel ribs could influence the wood’s curvature
The prototyping and testing led to some minor design tweaks, but overall it validated the concept and provided the foundation to dive into fabrication. Here’s a look at both the prototyping and fabrication process.